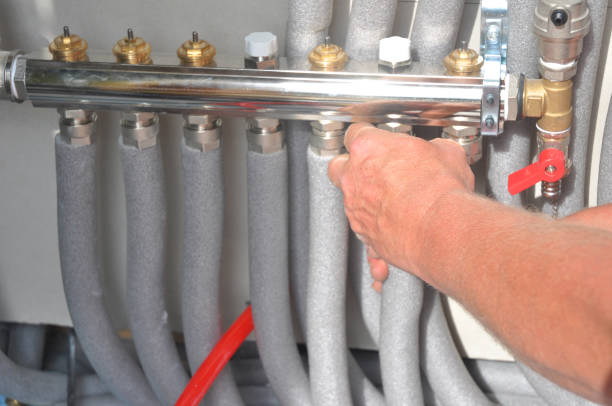
How to Install Pipe Insulation Foam: Easy Guide
Learn how to install pipe insulation foam easily with FUNAS. This step-by-step guide covers everything you need for efficient pipe insulation, helping save energy and prevent damage. Follow our expert tips to achieve professional results quickly and effectively.
- Introduction
- What You’ll Need Before You Start Installing Pipe Insulation Foam
- Step 1: Measure and Cut the Foam to Fit
- Step 2: Install Foam Along the Straight Runs
- Step 3: Secure Seams with Tape or Adhesive
- Step 4: Insulate Elbows, Valves, and T-Joints
- Step 5: Inspect and Test Completed Work
- Final Checks and Maintenance Tips
- Conclusion
- FAQs
Introduction
What You’ll Need Before You Start Installing Pipe Insulation Foam

Step 1: Measure and Cut the Foam to Fit
Step 2: Install Foam Along the Straight Runs
Step 3: Secure Seams with Tape or Adhesive
Step 4: Insulate Elbows, Valves, and T-Joints
Step 5: Inspect and Test Completed Work
Final Checks and Maintenance Tips
Conclusion
FAQs

7 Dangerous Mistakes to Avoid When Selecting insulating materials for Your Car (2026 Guide)

Polyurethane Foam 2026: Guide to HFO Compliance & Performance

The Ultimate 2026 Rock Wool Bible: Why It Beats Fiberglass Every Single Time [Full Comparison]

Why Glass Wool is the Secret to a 40% Lower Energy Bill: An Expert Deep Dive
service
What types of rubber foam insulation products do you offer?
We offer a wide range of rubber foam insulation products, including custom shapes and sizes, thermal and acoustic insulation solutions, and options with specialized coatings such as flame retardancy and water resistance. Our products are suitable for applications in HVAC, automotive, construction, and more.
What is your shipping and delivery process like?
We offer reliable logistics services for insulation material wholesale, both domestically and internationally. Our team ensures secure packaging, timely shipping, and real-time tracking so that your order reaches you in perfect condition and on schedule.
FAQ
Can your insulation products be customized?
Yes, we offer customized solutions for insulation material wholesale to meet the specifications of your project, including custom specifications, sizes, foils and adhesives, colors, etc.
What types of rubber foam insulation do you offer?
We offer a wide range of rubber foam insulation with different thicknesses and specifications. Thermal insulation material manufacturer FUNAS sleeves and sheets are suitable for different application scenarios.
You might also like

Black Rubber-plastic Tube Rubber foam pipe wholesale

Wholesale blue Rubber-plastic Board Rubber foam panel sheet

wholesale black nitrile rubber foam sheet rubber NBR foam sheet rubber foam insulation sheet for hvac system
NBR and PVC are the main raw materials, which are softthermal insulation and energy-saving materials foamedthrough special processes.

Wholesale black Rubber-plastic Board Rubber foam panel sheet
Leave a message
Have any questions or concerns about our products? Please leave us a message here and our team will get back to you promptly.
Your queries, ideas, and collaboration opportunities are just a click away. Let’s start a conversation.


